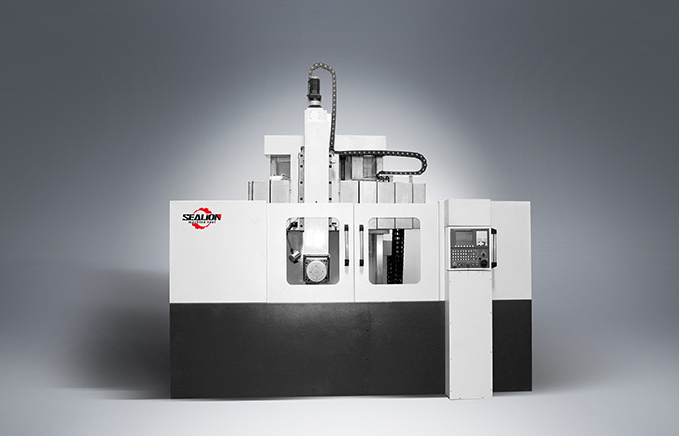
Horizontal Machining Center Processing Process
Horizontal machining center refers to a machining center with the spindle axis parallel to the worktable, which is mainly suitable for processing box-like parts. His working principle is that after the workpiece is clamped once on the machining center, the computer can automatically select different tools, automatically change the spindle speed of the machine tool, and complete the multi-process processing of multiple faces of the workpiece in sequence. Horizontal machining center can greatly improve production efficiency, but it occupies a large area and high cost.
Ⅰ. Machining process of horizontal machining center
After the workpiece is clamped on the machining center once, the digital control system can control the machine tool to automatically select and change tools according to different processing procedures, automatically change the spindle speed, feed rate, and the motion path of the tool relative to the workpiece and other auxiliary functions. Complete multi-process processing on multiple surfaces of the workpiece. And there are a variety of tool change or tool selection functions, so that the production efficiency is greatly improved.
Due to the concentration of processes and automatic tool change, the machining center reduces the time of workpiece clamping, measurement and machine tool adjustment, so that the cutting time of the machine tool reaches about 80% of the machine start time (normal machine tool is only 15-20%);
At the same time, it also reduces the workpiece turnover, handling and storage time between processes, shortens the production cycle, and has obvious economic effects. The machining center is suitable for small and medium batch production with complicated parts, high precision requirements, and frequent product replacement.
Ⅱ. The operating points to pay attention to when using a horizontal machining center
When using a horizontal machining center, some detailed issues are often overlooked.
1. Ensure that all the processing content of the workpiece is completed within the stroke range of the spindle.
2. Try to complete all the processing content in one clamping. When it is necessary to replace the clamping point, pay special attention not to damage the positioning accuracy due to the replacement of the clamping point, and specify it in the process file if necessary. For the contact between the bottom surface of the fixture and the worktable, the flatness of the bottom surface of the fixture must be within 0.01-0.02mm, and the surface roughness should not be greater than Ra3.2um.
3. The fixture should have as few components as possible and high rigidity.
4. In order to simplify the positioning and installation, each positioning surface of the fixture should have the coordinate size relative to the processing origin.
-

Design and Construction of Hydrostatic Rotary Tables
When it comes to precision machining, every detail matters. From the quality of the materials used to the design and construction of the machinery, every aspect plays a crucial role in ensuring the de... -

The Difference Between Vertical Lathe and Horizontal Lathe
Differences Between Vertical Lathes and Horizontal Lathes StructureVertical lathes have a vertically arranged spindle, while horizontal lathes have a horizontally arranged spindle. This results in ver... -

The Structure and the Function of the CNC Milling Machine
The CNC milling machine has multiple functions of a milling machine, a boring machine, and a drilling machine, so its process is highly concentrated. When the workpiece is replaced, only the processin...


